After installing TeamCity with SQL Server, I created a TeamCity project with build configuration. Here are the steps for creating a TeamCity project.
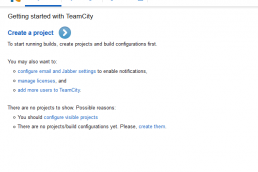
Create a Project
Since I didn’t have an existing project in TeamCity, it gave me a prompt to create a new project on the TeamCity home page.

I added a project name and description then clicked the save button.

Next, I clicked on the “add a build configuration” link.
Add a Build Configuration
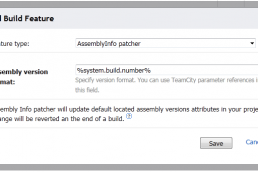
I added a name and description for the build configuration. I chose to use the default build number format .

Version Control Settings

I needed to create and attach a VCS root.

I selected Git as the Type of VCS, gave it a name, set the Fetch URL, the Default branch, and Authentication Settings.

It’s worth noting the “Changes Checking Interval” is globally set to 60 seconds by default. You can change the global server value or override the value in the VCS Root settings, build configuration settings, or build trigger settings.
Build Steps

I added a Visual Studio solution runner type build step, added a Step Name, set the Solution file path, the Visual Studio version, the build configuration and build platform.

Build Triggers
The last step is to add a new Build Trigger.

I added a VCS Build Trigger to trigger a build on each check in. I chose to trigger a build on each check-in versus grouping them by committer.