I recently decided to start writing again, and the first thing I did was check my website and server. WordPress is working great, but I haven’t kept the server up to date. As a matter of fact, the OS was four versions behind. Instead of updating it, I decided to spin up a new server and restore the website from a backup. There is no shortage of blog posts, walkthroughs, and help docs to set up a WordPress website, but I want to show you that it’s not hard to set it up yourself and control your own content. In this post, I’ll share the services I use to buy domains, host a web server, and set up WordPress.
Middle of the Road Option
If you’re setting up a website for the first time and stumbled across this post, you may feel overwhelmed by all the options. I’ll start by explaining why I consider this a middle of the road option.
First, I chose WordPress years ago because it’s a widely used platform that is actively being developed. It offers theme and plugin systems with countless extensions to the WordPress platform. And it has a robust community of users and developers that can help with any problem I’ve encountered.
Second, I chose to host my website on a server that I manage because I have sole ownership of the content I create and control over how visitors interact with my site. Depending on the platform, you may be trading ownership for access to a distribution network. This is the main reason I don’t share pictures of my family on social media platforms.
Third, I chose an option that costs $5 a month, or $60 a year, plus $17 for a domain name and whois privacy service. For me, $77 per year is a small price for full ownership and control over my website. It strikes the right balance between cost and performance. If this cost is too high for you, then you should look for a free option. If you want a more robust and performant solution, then you should look for a solution that decouples the WordPress components so you can scale the system to fit your needs. If this middle of the road option is something that interests you, then please read on.
Domain URL
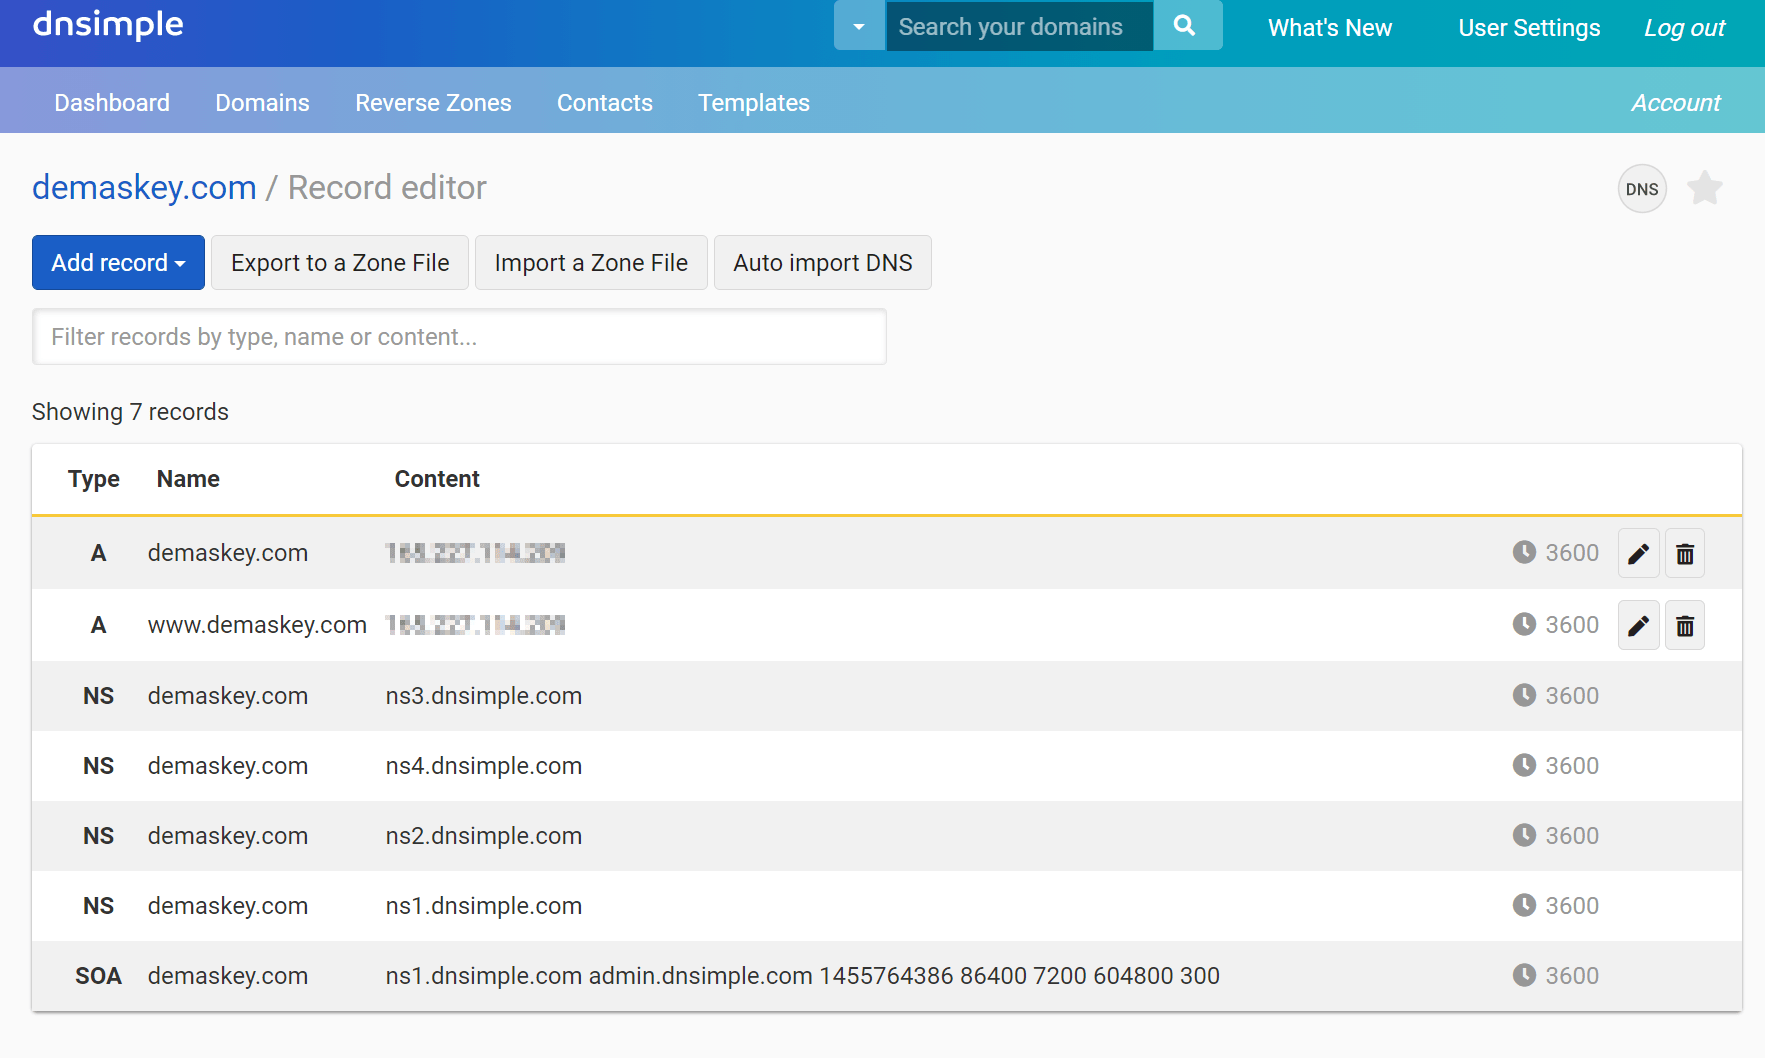
Your first step is to buy a domain name, the web address that will appear in the address bar of a web browser. There are many domain registrars to purchase your domain name. I have used DNSimple for the last few years and love using it. I buy domains, auto-renew registered domains, auto-renew the whois privacy for those domains, and configure DNS servers. I use it with this domain, and I have a couple more parked, which makes the $50 yearly fee worth it for me. If you’re interested in using DNSimple for your domain, you can use this referral link and get a $5 credit. Full disclosure, I get a $5 credit if you use this link.
Web Host
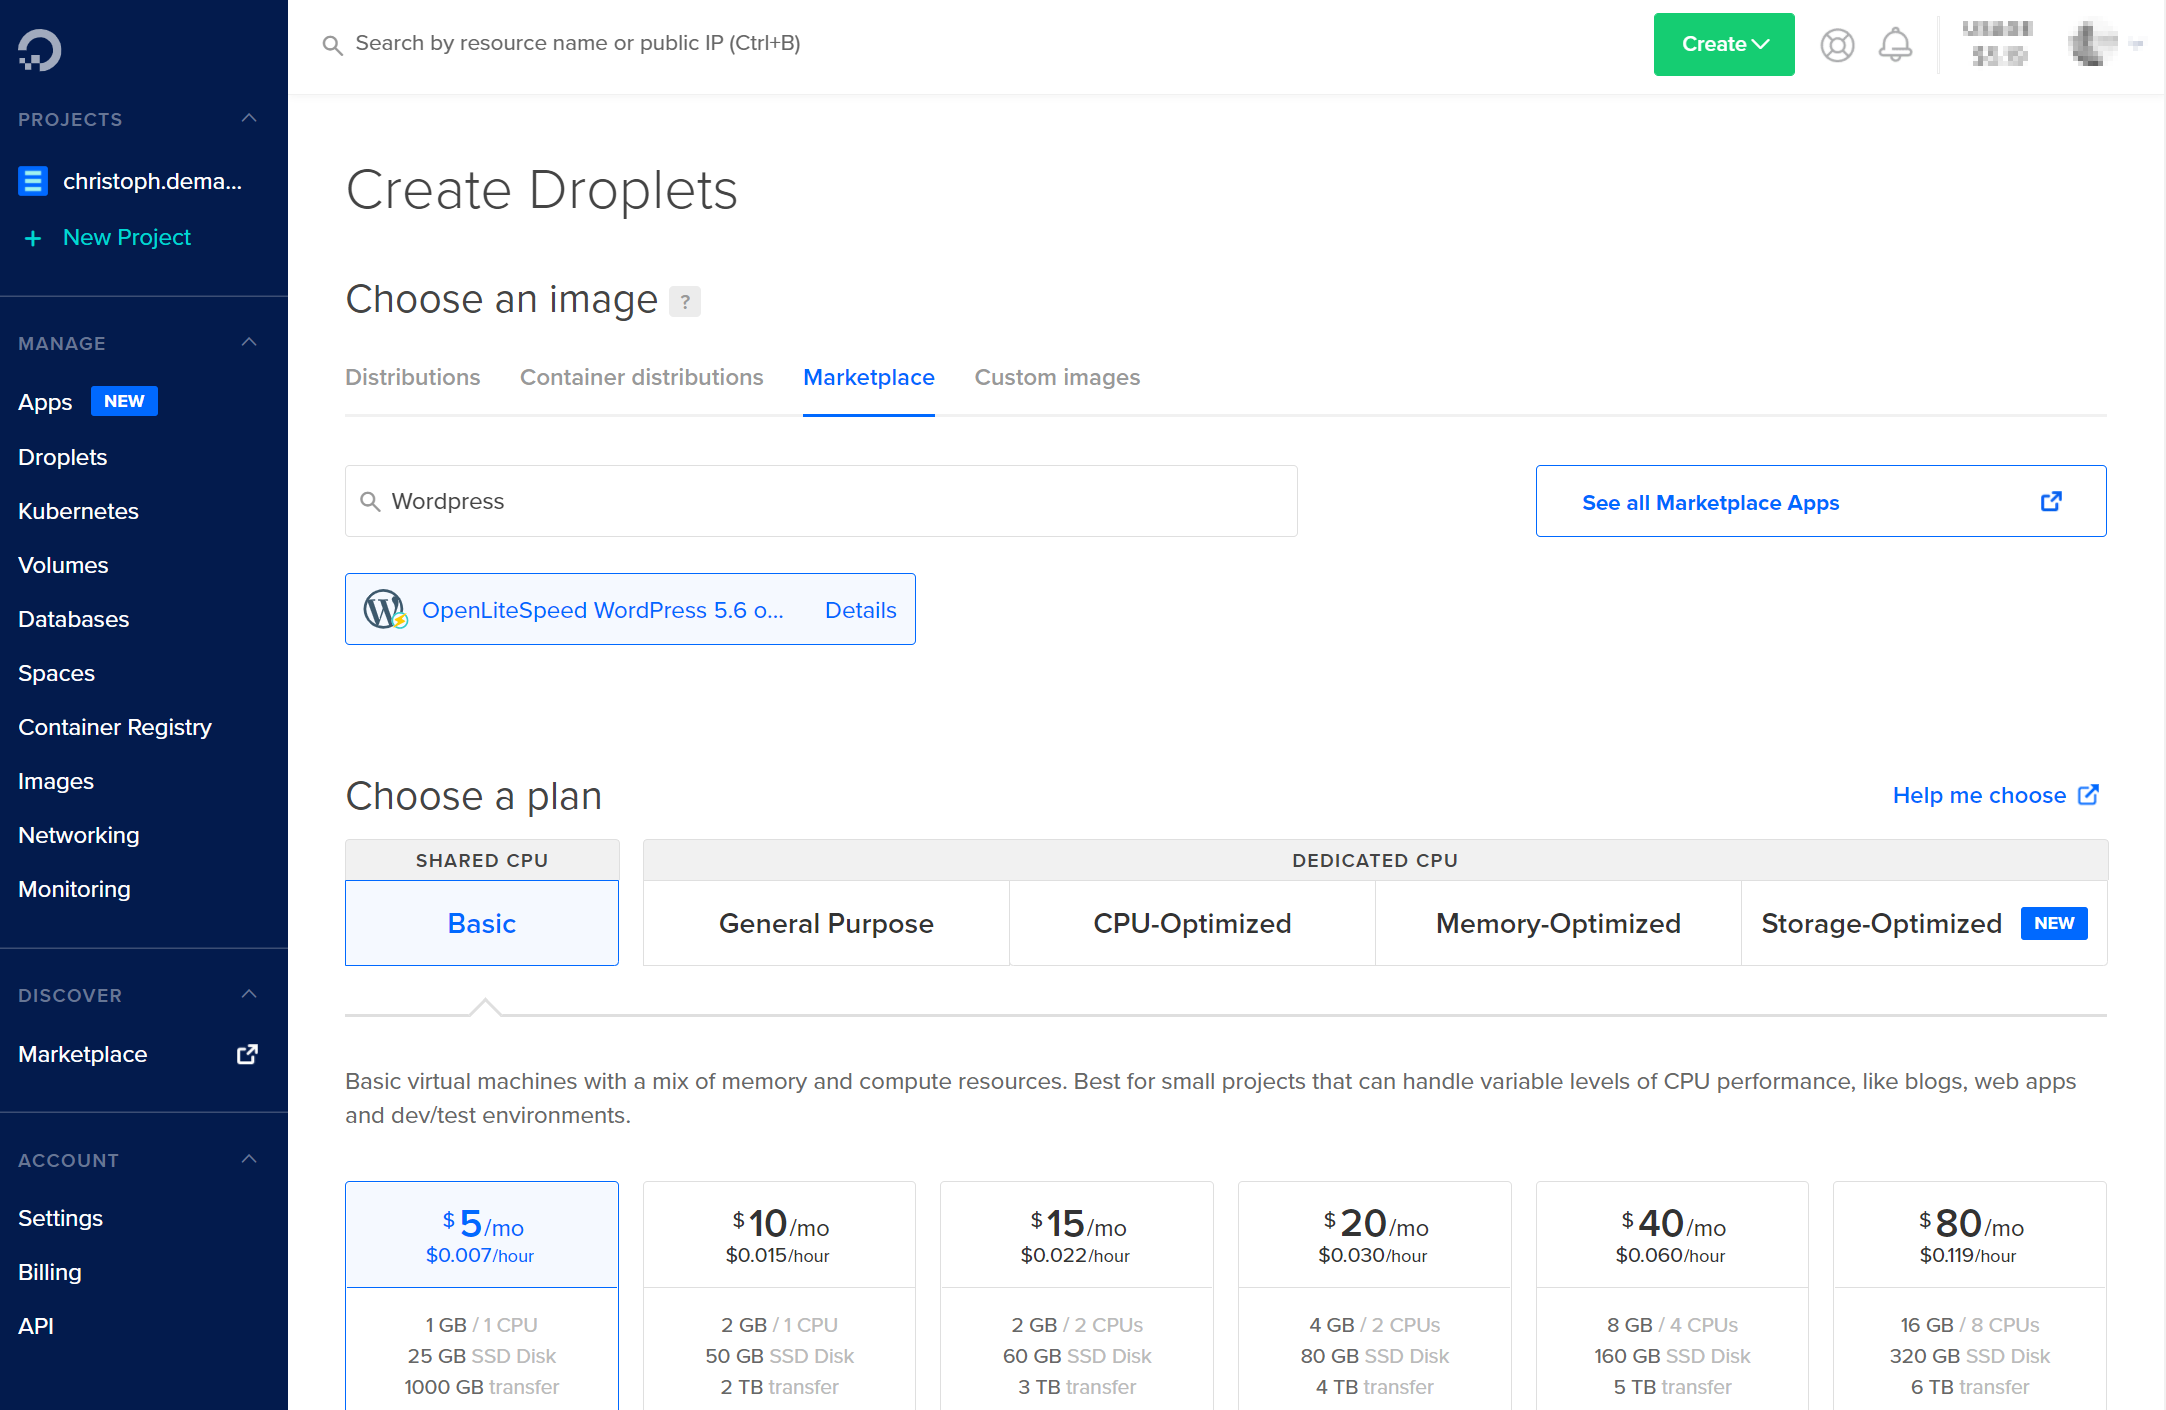
The next step is to set the DNS entries for your domain, but we need an IP Address first. To get an IP Address, we need a server from a hosting provider. DigitalOcean is my hosting provider of choice. I like it because it’s a modern Cloud provider with competitive prices compared to top Cloud providers and has a community-driven Marketplace of solutions that are easy to set up for widely used software like WordPress. I chose the OpenLiteSpeed WordPress Solution because it implements new technology standards that perform better than the traditional WordPress Solution. Another day I will have to geek out about the technology and components of this setup and configuration.
If you like what you have read about DigitalOcean and think you’ll use it as your host provider, then use this referral link to get $100 credit. Full disclosure, I get a $25 credit if you use this link.
Fortunately, creating a DigitalOcean Droplet is pretty quick, and once it finishes setting up, you can copy the IP Address to update your DNS records. I have two A records configured in DNSimple, one for the root domain, demaskey.com, and one for the www subdomain, www.demaskey.com. After you create or update your DNS records, they will propagate to other DNS servers, and traffic will start to flow to your new server for your domain name. It takes a little bit to propagate DNS changes, so while we wait, we can move on to completing the initial setup of WordPress.
Install WordPress
This DigitalOcean Marketplace Solution includes a script to configure the webserver, set the expected domain, get an SSL certificate from Let’s Encrypt, and add a rule to force requests over HTTPS. To start the script, we have to log into the server. You’ll need to open a terminal (OSX or Linux) or use Putty (Win) to establish an SSH connection using the IP Address with the root user and password or the SSH key from when you created the Droplet. The script will start as soon as you log in. Type your root domain and confirm what you entered, then the webserver will be configured. The next step is to set up an SSL certificate with Let’s Encrypt, but the DNS records have to propagate first. Leave this window open because you will come back to it later.
Next, open a browser and paste your server’s IP Address into the address bar. You’ll be prompted for your language then asked for the site title, username, password, and email address. This will create your first user, which will have administrative privileges. You might think you should make the user name admin, don’t do this! Since WordPress is popular, it’s regularly attacked. This website receives several hundred failed login attempts each week. One of the top two most common usernames is admin. When you create this user, make sure to use the strong password generator provided or generate a strong password with your password manager tool of choice. Now you can log into your website and explore.
At this point, I restored my website from backup files and waited for the DNS propagation to complete. If this is your first website, then you need to do one more thing in WordPress. Go to the General Settings and enter your domain name into the WordPress Address (URL) and Site Address (URL) text boxes and click Save Changes at the bottom of the page. This setting will force a browser to redirect to the proper site URL. After saving, the webpage will refresh and redirect you to your domain name. If you get a timeout error, then the DNS hasn’t propagated, or you made a mistake in your DNS record.
SSL
Let’s return to the SSH terminal and finish up. We stopped earlier when you were asked if you want a free SSL certificate from Let’s Encrypt. You should say yes because search engines prioritize results from sites that have a valid, up to date SSL certificate and because it’s best practice to encrypt data sent between a browser and server. After you say yes to the SSL certificate, then you will be asked for an email address. The script will check that the web server can be reached at the domain you entered, and then it will get an SSL certificate from Let’s Encrypt and install it for you. It’ll ask you if you want to force requests over HTTPS, respond yes again. Lastly, the script will ask if you would like to update the system, respond yes one last time. It’s always wise to keep your system up to date because the updates include security patches and updated libraries.
That’s it, you’re done. Now that you set up your WordPress website, it’s time to explore. Don’t forget to check out themes and plugins. I hope you found this post useful. Please let me know what you think in the comments.
Related Posts


Factory Pattern
A couple friends asked me about the…